Intro to Vagrant
If you’ve ever started building a project that is running great locally, only to have it fail to build on a teammate’s machine or when deployed to any other environment despite your meticulous, step-by-step setup instructions, you may want to consider using a tool like Vagrant.
Vagrant enables you to build a consistent virtual environment for developing and running software from any machine. It’s easy to make your local development environment mirror your production server while also making it portable. This can save lots of time when someone new joins the project, as the setup is all but done for them already.
Vagrant is also useful for security researchers, as it allows you to quickly spin up a virtual server and application for testing in an isolated and controlled environment that you can hack on locally without exposing potentially insecure software to the Internet. As a pentester you’ll often need to wipe and reset your working environment between engagements. Vagrant provides an easy way to get you back to clean state with all your tools ready for the next job.
Of course there are other ways to configure and launch virtual machines for these purposes and more, but the real value Vagrant adds is the ability to automate and easily reproduce your virtual environments.
Core Concepts⌗
There are just a few core concepts you need to know about in order to get started using Vagrant.
Boxes
In order for Vagrant to work its magic you need to start with a little more than a fresh OS image like you would if you were manually creating a new VM. Boxes package the base OS with a few required tools such as a package manager and SSH, along with the default vagrant user.
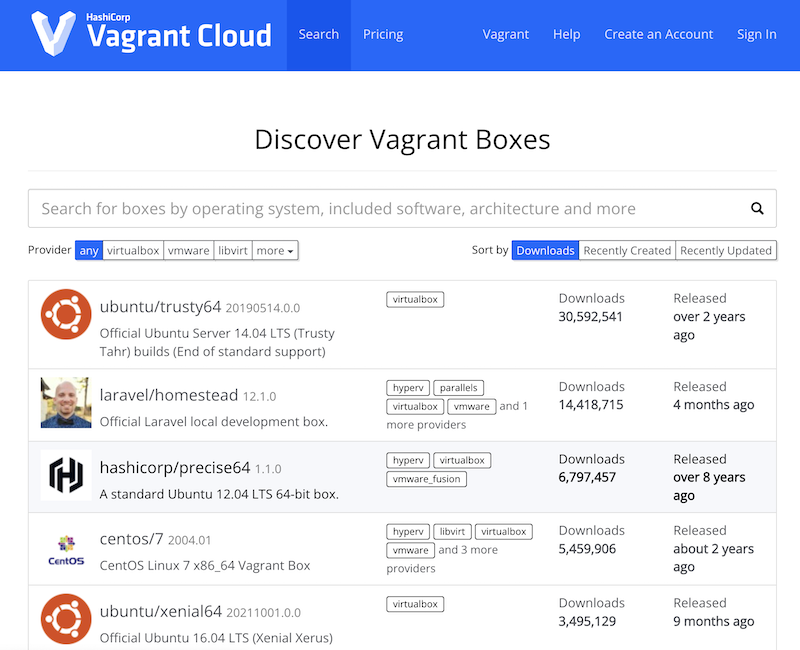
You do not need to worry about learning how to package your own box from scratch unless you want that extra layer of control. Vagrant maintains a directory of publicly available boxes that will likely suit your needs most of the time.
Providers
In Vagrant terminology, a provider is the hypervisor your VMs will run in. Vagrant supports several popular hypervisors including VirtualBox, Hyper-V, VMWare, and more. You’ll need to install the provider of your choice before you can use Vagrant.
Provisioning
Provisioning is the name of the setup process that happens when bringing up a Vagrant environment for the first time. (You can also re-run the provisioning process at any time with the vagrant provision command, as well as after a restart with vagrant reload --provision)
Provisioning is a process you define based on your project requirements. This may include creating additional user accounts, installing dependencies, configuring services, etc. For example, you may want to set up a LAMP stack to serve a PHP-based webapp or install python with some additional libraries to run your application.
For smaller projects you can define the provisioning process directly in your Vagrantfile or in a separate shell script that Vagrant can execute. Vagrant also supports other specialized provisioning and configuration tools such as Ansible, Chef, and Puppet which are better suited for larger projects.
Vagrantfile
A Vagrantfile is the configuration file where you define your project’s environment. You only need one Vagrantfile per project, but can configure multiple VMs within it. It is written in Ruby but doesn’t require knowledge of Ruby to read and write as it mostly involves setting variables.
In the Vagrant file is where you define the type of box you want to use along with other basic parameters such as how much memory it can use. There are many common settings that work for all providers, and some providers have additional settings available based on their own features.
Demonstration⌗
In just a couple of minutes we can demonstrate how simple it is to use vagrant to launch a VM that will host a simple Node hello world app.
Prerequisites: if you want to follow along you’ll need to download and install Vagrant as well as a provider. You’ll also need to choose which box you want to build on. In this demo I’ll be using ubuntu/focal64 on VirtualBox.
From a new directory, run vagrant init ubuntu/focal64 to initialize the project. This command will create a Vagrantfile in your current directory that looks something like this:
# -*- mode: ruby -*-
# vi: set ft=ruby :

Vagrant.configure("2") do |config|
  config.vm.box = "ubuntu/focal64"
end
I’ve removed all the comments for brevity, but the initial file contains comments explaining many commonly used VM settings for your convenience.
Next we’ll add a couple of basic VM settings to set the name of the VM in VirtualBox, and the amount of memory and CPUs to give it.
Finally we’ll add an inline shell script to handle provisioning. For now all we need to do is update our packages and install a couple of dependencies: nodejs and npm.
# -*- mode: ruby -*-
# vi: set ft=ruby :

Vagrant.configure("2") do |config|
  config.vm.box = "ubuntu/focal64"

  config.vm.provider "virtualbox" do |vb|
    vb.name = "helloworld"
    vb.memory = "2048"
    vb.cpus = 1
  end

  config.vm.provision "shell", inline: <<-SHELL
    sudo apt-get update -y
    sudo apt-get upgrade -y
    sudo apt-get install -y nodejs npm
  SHELL

end
This is all we need to launch our VM and start building our project! Run vagrant up to kick off the setup process.
NOTE: the first time run vagrant up will take some time, especially if you are installing several packages. It will be faster on subsequent starts unless you run provisioning again.
Once it finishes you can run vagrant status to verify the VM is running:
brian@brianmbp vagrant-blog % vagrant status
Current machine states:

default                   running (virtualbox)

The VM is running. To stop this VM, you can run `vagrant halt` to
shut it down forcefully, or you can run `vagrant suspend` to simply
suspend the virtual machine. In either case, to restart it again,
simply run `vagrant up`.
Excellent! Now we can run vagrant ssh to connect to the VM. Vagrant handles generating a keypair and adding our public key to the VM for us, although if you want to add your own that can be done during provisioning.
By default, Vagrant also mounts the project directory from the host to /vagrant in the guest. You can add additional synced folders if you need persistent storage shared with your host.
Now that we have a virtual development environment it’s time to build our project. By storing our source files in /vagrant we can continue coding directly on our host, but our app will run in the VM.
So let’s cd /vagrant and then npm init to initialize our project and create our package.json manifest. (Make sure to do this in the vagrant shell.)
Next we’ll run npm install --save express to install the Express framework.
⚠️ I ran into an error on this step and had do some searching to figure out how to get around it.
vagrant@ubuntu-focal:/vagrant/src$ npm install express
npm WARN helloworld@1.0.0 No description
npm WARN helloworld@1.0.0 No repository field.

npm ERR! code ENOENT
npm ERR! syscall open
npm ERR! path /vagrant/src/node_modules/send/node_modules/ms/package.json.2389840183
npm ERR! errno -2
npm ERR! enoent ENOENT: no such file or directory, open '/vagrant/src/node_modules/send/node_modules/ms/package.json.2389840183'
npm ERR! enoent This is related to npm not being able to find a file.
npm ERR! enoent

npm ERR! A complete log of this run can be found in:
npm ERR!     /home/vagrant/.npm/_logs/2022-06-19T22_59_38_434Z-debug.log
I didn’t find an easy to digest explanation, but the solution is pretty simple. Rather than installing npm packages directly in the synced folder, we can install them on the guest’s hard disk and create a symbolic link to them from the project directory.
- Run
mkdir ~/node_modulesto create a directory. - From
/vagrantrunln -s ~/node_modules .to create the symbolic link - Now we can run
npm install --save expresssuccessfully.
(Later we can add these steps to our provisioning script to automate it for us.)
Now we’re ready to add the code. Paste the following into a file named index.js:
const express = require('express');
const app = express();
const port = 3000;

app.get('/', (req, res) => {
  res.send('Hello World!');
});

app.listen(port, () => {
  console.log(`Example app listening on port ${port}`);
});
Lastly we just need to update package.json to add a run script. Within the scripts object, add the start script shown below. This will allow us to run npm run start to start our application.
{
  "name": "helloworld",
  "version": "1.0.0",
  "description": "",
  "main": "index.js",
  "scripts": {
    "start": "node index.js",
    "test": "echo \"Error: no test specified\" && exit 1"
  },
  "author": "",
  "license": "ISC",
  "dependencies": {
    "express": "^4.18.1"
  }
}
We have a couple of final tweaks to make to our Vagrantfile before we can test that everything is working as expected.
In the provisioning section we’ll add a few commands to automate the node_modules workaround we did manually before so that we and anyone else who works on the project will not need to deal with it again. We also want to automate installation of the npm dependencies and starting our app.
Finally, we need to set up local port forwarding so we can access our app in a browser from our host. In index.js we set our app to run on port 3000 on the VM, and we can set the host port to whatever we want, although I like to expose a different port to the host for clarity.
Our final Vagrantfile should look like this:
# -*- mode: ruby -*-
# vi: set ft=ruby :

Vagrant.configure("2") do |config|
  config.vm.box = "ubuntu/focal64"
  config.vm.network "forwarded_port", guest: 3000, host: 3333

  config.vm.provider "virtualbox" do |vb|
    vb.name = "helloworld"
    vb.memory = "2048"
    vb.cpus = 1
  end

  config.vm.provision "shell", inline: <<-SHELL
    sudo apt-get update -y
    sudo apt-get upgrade -y
    sudo apt-get install -y nodejs npm
    sudo su -l vagrant -c 'mkdir /home/vagrant/node_modules'
    cd /vagrant
    ln -s /home/vagrant/node_modules .
    npm install
    npm run start &
  SHELL
end
And that’s it! Now we can exit our vagrant shell and run vagrant reload --provision from our host to reprovision the VM. Once it finishes our app will be running and we should be able to access it locally.
brian@Brians-iMac:~/dev/vagrant-blog$ curl http://localhost:3333
Hello World!
Now, just for fun, we can run vagrant destroy to completely tear down the box and run vagrant up to bring it back up again, only this time our app will be running and accessible automatically without any additional steps!